Sunday, July 31, 2011

Chunky Carmel Brownies

Amazing, right? Right. I'm a fan of brownies with stuff in it. Doesn't really matter what the "stuff" is.....nuts, marshmallows, frosting on top, etc. Its all good in my opinion. This delicious treat has chocolate chunks AND carmel. The combination for ultimate goodness. These brownies are best after they have been cooked and then chilled in the fridge for at least thirty minutes, but I recommend 60 minutes. The chocolate chunks harden so you can tell its a chunk, rather athan a gooey chocolate fudgey thing. Chunks are good-you want chunks. Which is another reason I renamed these brownies and added the "Chunky" to it. It just sounds better, right? :) Enjoy!


Chunky Carmel Brownies

Natalie J.


Melt in Microwave:

1 cup square caramels, unwrapped (See picture below)

1/3 C evaporated milk

(You can buy the caramels in a bag in the baking isle by chocolate chips. One bag of caramels equals 2 cups caramels.)


Stir with electric mixer until dough holds together:

1 pkg Devils Food Chocolate Cake Mix (original recipe called for German, but Devils is better)

1/2 C butter, softened (do not melt in microwave)

1/3 C evaporated milk


6 oz pkg chocolate chips (half a bag)


Grease and flour (or just spray with Pam) a 9x13 pan. Press half of dough into pan. Bake at 350 degrees for 6 minutes. Take out and place chocolate chips on hot dough. Drizzle melted caramel mixture over the top.


Add remaining dough on top by pressing into little circles in your hand and them placing them on top of the carmel.


Bake 15-18 minutes at 350 degrees. Cool slightly. Refridgerate 30-60 minutes or until set.


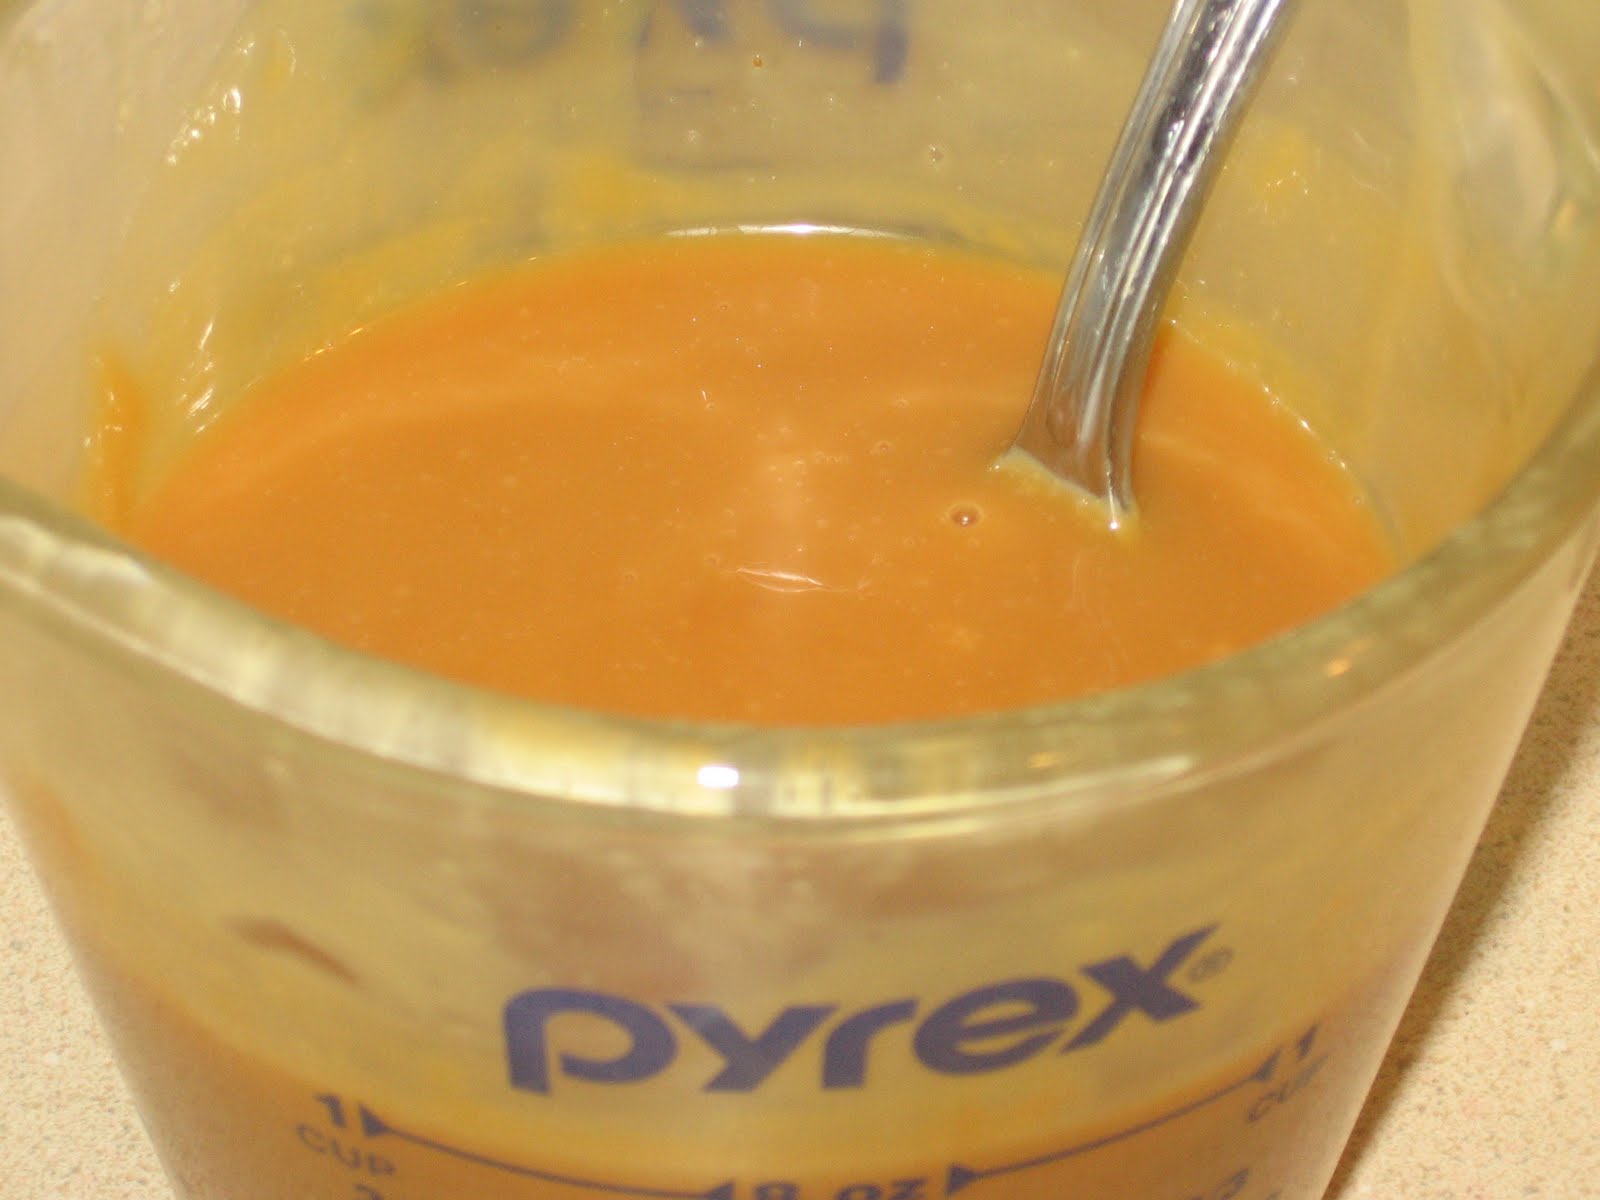
Hints: To make the caramel mixture, put it in a glass dish with high sides, such as a measuring cup. It takes a few minutes to melt the caramel completely, so stir every thirty seconds or so. When its done, it should resemble this:

The dough can be very sticky, so place the bowl with dough in the freezer for a few minutes to get it to harden. It makes it MUCH easier to work with. I did this several times while working with the dough. When putting the dough on the top, it is difficult to make it cover the entire pan. Do your best, but when it cooks, it will fill in the holes and come out looking like this:

Need another gooey, delicious shot? Here goes.

Friday, July 22, 2011

Tropical Salsa


Tropical Salsa


1 C chunky salsa (I like Pace's)

1 can (8 oz) pineapple tidbits, drained

1 medium firm ripe mango, peeled, pitted and chopped


Mix salsa, pineapple and mango. Serve with tortilla chips. Enjoy!

Thursday, July 21, 2011

Baked Snapper with Tropical Salsa

I found this recipe about 5 years ago and made it for the first time the other night. Ya know how you have a huge stack of recipes you've never made? Well, I'm trying to go through what I have and hoping to find some hidden jewels. I was pleasantly surprised! Even the husband really liked it...and thats sayin somethin! Its very healthy and the flavor was great. The only substitution I made was I used tilapia instead of snapper. I'm usually a lazy cook and I don't want ANYTHING to do with the prep work of fish. Instead I bought a bag of frozen tilapia. To make matters more convienent, the fish was individually packaged so all I had to do was thaw it in the bags, then cut the bags open. The tropical salsa on top was great too! It made it so the fish didn't need any other seasonings added. Resist the urge to salt! Oh, how tempted I was but I'm glad I resisted. Oh, and it was FAST! Loved that part too!


Baked Snapper & Tropical Salsa


Prep Time: 10 minutes

Total Time: 25 minutes

Serves: 4 servings


Ingredients:

1 C chunky salsa (I used Pace)

1 can (8 oz) pineapple tidbits, drained

1 medium ripe mango, peeled, pitted and chopped

6 C torn spinach leaves, washed, well dried

4 red snapper fillets (4 oz each)


1. Mix salsa, pineapple and mango.


2. Place spinach evenly in 13x9-inch baking dish; top with fillets. Spoon 2-4 TBS of the salsa mixture over each fillet; cover with foil. Set remaining salsa mixture aside for serving with fish.


3. Bake at 450 degrees for 15 minutes or until fish flakes easily with fork. Serve with reserved salsa mixture.


I served this with seasoned rice. Delish!

Thursday, July 14, 2011

Greek Salad & Dressing


This lovely salad and dressing was served with our Greek meal a family reunion this year. The dressing was A-MA-ZING!

Greek Salad:
greens, chopped and washed
olives
red onions
cucumbers, thinly sliced
tomatoes
feta cheese, sprinkled on top


Dressing:
1 c. olive oil
1/2 c. lemon juice
2 cloves garlic (or more :))
2 tsp. salt (or to taste)
2 tsp. oregano fresh (1 tsp. dried)
ground pepper to taste

Finely mince garlic. Combine all ingredients in jar and shake well.

Photo Source: Life Tastes Like Food

Angel Hair Stir Fry Pasta with a Thai Peanut Sauce


When I first got married, I had never tried Thai food. It seems like a lot of Thai food is too hot for me, so I usually steered clear.....until I realized how easy it can be to make a delish immitation Thai sauce. This recipe is good because it 1-super simple. I'm kind of a lazy cook and simple recipes are good :) AND 2-it still tastes pretty Thai-ish.


Thai Peanut Sauce
Source:  The Ultimate Peanut Butter Book


Makes 4 servings:

1 small onion, minced (about 1/3 C)
1 clove garlic, minced
1 ½ TBS minced peeled fresh ginger
2 tsp chili paste or chili sauce (can increase, but beware!)
2 tsp packed dark brown sugar
¾ C evaporated milk or lite coconut milk (coconut milk is better)
½ C chunky standard peanut butter (can use chunky too)
juice of 1 lime (about 2 TBS)
*Chicken, cooked and chopped (optional)
8 oz dried angel hair pasta or other thin pasta or brown rice, cooked to package directions
1 package frozen stir fry vegetable mix, cooked to package directions


DIRECTIONS:

1. Spray a large nonstick skillet with nonstick spray and set the pan over medium heat.

2. Add onion, garlic and ginger. Sautee until fragrant and soft about 1 minute.

3. Stir in chili paste or chili sauce and brown sugar; cook, stirring constantly until very aromatic, about 15 seconds.


*Note* I only put a few drops of the chili sauce in if my son is going to be eating. It can be too hot for a toddler. If you aren't feeding little ones, then be brave and add the chili sauce. It does make it a little spicy, but it gives it a wonderful flavor.

4. Stir in the evaporated or coconut milk, peanut butter and lime juice. Bring to a simmer, stirring constantly until the peanut butter dissolves into the sauce. Simmer for 10 seconds. (If wanting to add chicken, now is the time to add the cooked, chopped chicken to the sauce.)

5. Pour the warm sauce over the noodles or rice and stir fry vegetables in a large bowl. Toss well and serve at once.

Photo Source: Closet Cooking

Marci's Spinach Artichoke Dip


For those of you who know who Marci is, we all know this dip is incredible! We have it at a lot of gatherings with friends and its always pretty much gone. So good! Marci always made it in a medium-sized crock pot. It was perfect because she would just plug the crock pot in and it would stay warm.


1 package of cream cheese
1 can artichoke hearts
1/2 cup frozen spinach- thawed and drained of water
1/4 cup mayo
1/2 cup parmesan cheese
a few cloves of minced garlic
1/2 tsp garlic salt
1 Tbsp dried basil
mozzarella cheese


Marci's instructions:
Mix everything together except mozzarella. I usually chop artichokes kinda chunky, but when in a hurry I mix it all in my food processor which makes it kind of pureed. The original recipe was to bake in the oven and put mozzarella on top near the end, but I don't know the temperature or time because I always cook it in my mini crockpot. In my crockpot it usually takes an hour, but it is at a low temperature. I add the mozzarella on top at the end(although I have made it without the mozzarella and it is still good). Yum Yum.

Photo Source: The Food Network

Sunday, July 3, 2011

Grilled Basil-Marinated Chicken


Its summer time and time for grilling! Lets face it-its just too hot to turn on the oven and heat up the house so grilling is the perfect solution. I found this great new marinade recipe and had some friends over to experiment on :) hehehe. I'm glad it worked out though. Its from the Foodnetwork, so you know it has to be good :) I altered the amounts slightly, but put the original amounts in parenthesis. I served this dish with cheesy potatoes in the crockpot, spinach salad and fresh fruit.


Grilled Basil-Marinated Chicken
Serves 4

Source:
The Food Network

*Original amounts listed in parenthesis*

Ingredients
· 4 tablespoon olive oil (original recipe said 1 TBS)
· 4 tablespoon red wine vinegar (1)
· 4 tablespoon chopped basil leaves, plus 4 sprigs for garnish (1)
· 2-3 tablespoon finely chopped red onion (1)
· 1 teaspoons kosher salt (2)
· 1 teaspoon whole black peppercorns
· 4 clove garlic, chopped (1)
· 6 boneless, skinless chicken breast halves (about 3 pounds)


Directions

Whisk together the oil, vinegar, basil, onion, salt, peppercorns, and garlic in a bowl. Transfer the marinade to a gallon-sized sealable plastic bag with the chicken and shake to combine. Refrigerate for at least 3 hours and up to 12 hours.

When ready to cook, build a charcoal fire or preheat gas grill.
Remove chicken from the marinade. Grill the chicken, turning once, until browned and just cooked through, about 4 minutes per side. Transfer the chicken to a platter and garnish with the basil sprigs.

Helpful Hints: In the reviews section of the Foodnetwork website, many people offered suggestions to making this recipe better. Among them were the following:
-Watch how much salt you use. Some said it was too salty so I halved the salt and it was perfect.
-Some said to add more fresh basil to make it more "basil-ly".
-Can substitute onion flakes.
-I wasn't a big fan of biting into the peppercorns. I liked the flavor it gave to the chicken, but next time I would maybe pick them off the chicken before I grilled them. One reviewer said she cracked the peppercorns before marinading by crushing them into smaller pieces with a metal measuring cup, which would probably be a good option too, just possibly a little time intensive.
-We let it marinade about 20 hours before we grilled the chicken and it was fine.

Photo Source: Taste Book, For the Love of Cooking